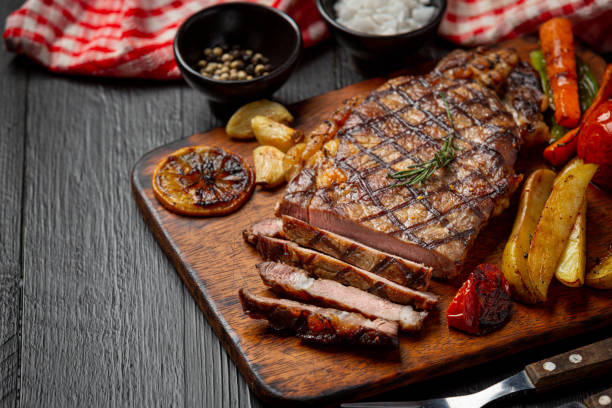
If you’ve ever dined at an upscale restaurant like Benjamin Steakhouse, you might have noticed the enticing labels like:
28-day matured beef (Aged to perfection)
As a meat enthusiast, you might have even experienced firsthand the undeniable superiority of aged steak. But have you ever wondered why steak tastes better when aged?
To the uninitiated, the concept of allowing meat to sit for an extended period might sound repulsive or even dangerous. How could leaving meat to age for weeks ever result in a safe and delicious outcome? Surprisingly, when done correctly, dry aging beef not only ensures safety but also enhances tenderness and flavor.
Dry aging is a traditional method that involves hanging or placing beef in a controlled environment with specific temperature, humidity, and air circulation conditions for an extended period. This time-honored process, free from the use of chemicals or preservatives, allows the meat to naturally tenderize and undergo transformative flavor development.
During the dry aging process, the meat is left to hang as moisture is gradually drawn out, and enzymes begin breaking down the meat’s structure. The exposure to air allows microbes and fungi to interact with the meat, leading to subtle changes in its flavor profile. Depending on personal preferences, dry aging can be performed for a day or several months, affecting the level of denaturation of muscle fibers and connective tissues.
If you’ve ever encountered dry-aged beef, you may have noticed its characteristic black crust on the outside, which protects the tender, red, and soft interior. This alteration in mouthfeel and intensified flavor further contributes to its culinary allure, although once again, personal preferences play a significant role.
While dry aging may seem tempting to experiment with at home, it’s important to highlight that it requires meticulous control of humidity and temperature. The European Food Safety Authority recently stated that dry-aged beef is as safe as fresh beef when aged for up to 35 days at a temperature of 3°C (37.4°F) or lower. However, caution must be exercised as higher temperatures can promote mold growth, with certain molds producing mycotoxins that can have harmful health effects.
Wet-Aging vs. Dry-Aging
When you purchase a steak from a grocery store, chances are it has undergone wet-aging. Invented in the 1950s, wet-aging involves vacuum-sealing the steaks, similar to the process used for freezing meat to prevent freezer burn. While some individuals may prefer the taste of wet-aged steaks, most Americans lean towards dry-aged beef.
Dry-aging, a centuries-old technique, requires the beef to be placed in a controlled environment with specific temperature, humidity, and airflow conditions. While wet-aged beef may undergo minimal enzymatic changes, the overall flavor transformation is limited, often resulting in a metallic or “bloody” taste.
Grocery stores often opt for wet-aging due to its cost-effectiveness. Dry-aging typically takes 4 to 6 weeks, requires specialized aging lockers, and involves product loss due to trimming and evaporation. In contrast, wet-aging takes less time, requires less equipment, and causes no product loss, making it a more affordable option.
Demystifying Dry Aging at Home
While it is possible to dry-age beef at home, it is essential to understand that the process is far more complex than some online guides may suggest.
One common misconception is that dry-aging can be achieved by simply lining steaks with cheesecloth or paper towels and leaving them in the refrigerator for a few days. While this method can dehydrate the steaks, intensifying the flavor, it does not provide the desired aging effects. For proper tenderization, beef needs to be aged for a minimum of 14 days, while complex flavors typically develop after at least 21 days. Merely refrigerating steaks for a week, regardless of cheesecloth, won’t achieve the desired results.
The Essential Equipment for Dry-Aging at Home
To embark on your dry-aging journey at home, you’ll need a few key pieces of equipment. Start with a large cut of top-grade USDA Prime beef, preferably a large rib roast with a thick cap of fat on the exterior. Additionally, you’ll require a dedicated refrigerator, a small electric fan to ensure airflow, a tray to collect drippings, and a wire cooking rack. It’s crucial to use a dedicated fridge to avoid flavor contamination from other foods and maintain precise moisture levels.
The Step-by-Step Guide to Dry-Aging at Home
- Set up a small electric fan inside the dedicated refrigerator to maintain proper airflow.
- Place a wire rack on top of a tray, ensuring the bottom of the rack is elevated to allow airflow on all sides of the beef.
- Position the cut of beef on top of the wire rack and slide the tray, rack, and beef into the refrigerator.
- Patience is key. Wait for the desired duration, typically 2 to 4 weeks for added tenderness, 4 to 6 weeks for the classic dry-aged taste, and 6 to 8 (or more) weeks for distinct aromas and flavors.
- Avoid opening the refrigerator door unnecessarily, as it disrupts moisture levels and may introduce unwanted odors.
- Once the aging period is complete, remove the beef from the fridge. The exterior will be dry, deep-red, or purple/brown, and may have developed mold.
- Trim away any dry, discolored meat and exterior fat. Finally, cut the beef into individual steaks according to your preference, typically 1¼ to 2 inches in thickness.
Here’s a guide on how to dry age beef at home:
